

In the downloadable PDF you will find detailed step-by-step instructions for installing the acoustic Acupanelwood panels.
Or you can follow the individual points below.
Steps 5 and 6, cutting the panels to size, need only be carried out if necessary. If the
measurements fit for you, you will be finished after step 4 and can look forward to your result.
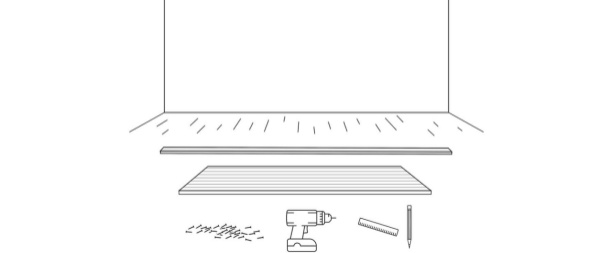
Materials needed for assembly:
•A saw – either a circular saw or a normal saw (foxtail)
•A screwdriver
•Screws for the Akupanels and the underlying battens
•» Black screws approximately 35 mm. for mounting the Akupanels
•» You will potentially need small screws (approximately 15 mm.) for fixing the
•lamellas on the filt when after cutting the Acupanelwood panels in length
•» Screws and plugs for mounting the battens on the wall
•Battens (werecommend 45 mm. in thickness)
•Mineralwool (45 mm. i thickness)
•A scale
•Pencil
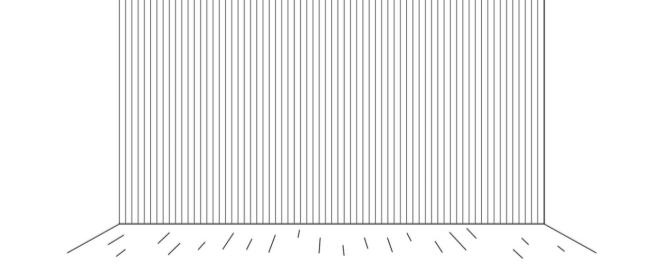
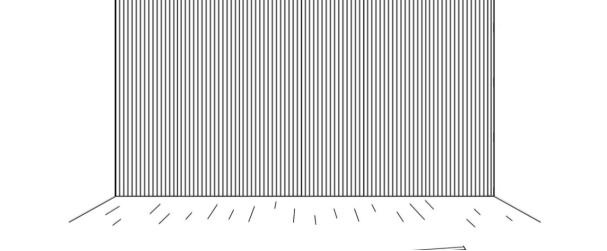
Step 1: preparing the wall
•remove coarse impurities
•remove screws, nails etc.
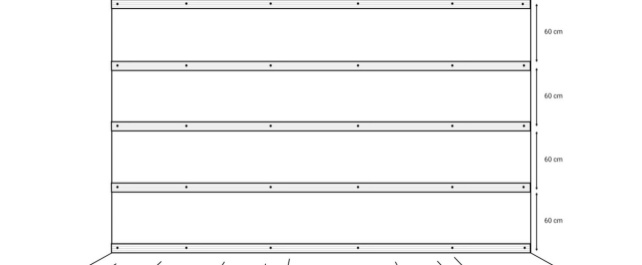
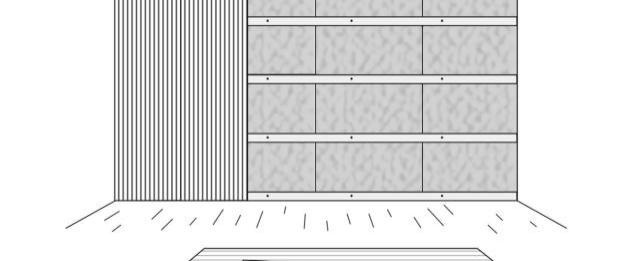
Step 2: Mounting the underlying battens
1. Airst fix the battens to the wall to screw the screws through the felt of the acoustic Acupanelwood panels into the battens (plugs and screws maybe required)
Werecommend a distance of 40 cm between the slats
2. then insert the mineral wool between the laths on the wall (sound insulation class A)
3.alternatively, the acoustic Acupanelwood panels can also be mounted directly on the wall with screws or
4. glue (sound insulation class D)
Note: If the acoustic Acupanelwood panels are glued directly to the wall, you may damage the wall and/or the panels if the panels are detached.
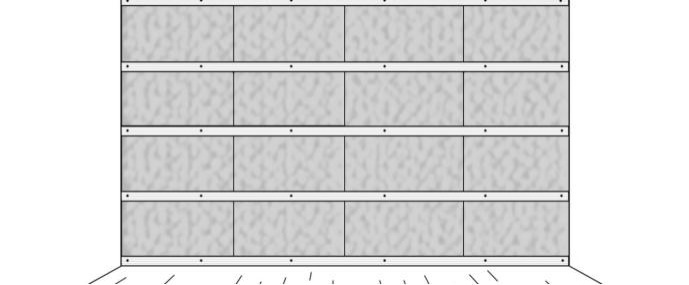
Step 3: Insert mineral wool between the battens
•Insert a 45 mm thick mineral wool (or similar to the thickness of wooden slats) between
the slats
•This can be cut with a knife and is then clamped between the slats
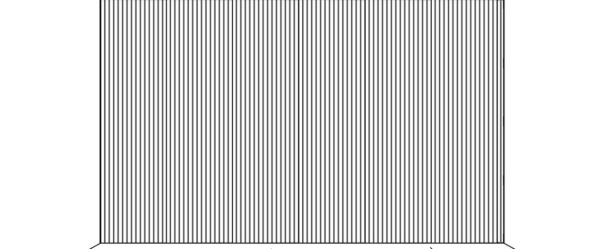
Step 4: Mounting the akupanels
•use black screws (35 mm) to screw through the black felt into the batten
•recommendation: 15 screws per acupanel
•The Acupanelwood panels have one side with felt and one with lamella
•When assembling in continuation to each other, please note that the felt side of the one panel is seamless with the slat side of the following panel
•this creates a joint of about 13 mm between the slats of the two panels - you do not necessarily have to push the panels completely together.
Step 5: Cutting the Akupanels in width
•At the end of the wall, the panels may have to be adjusted
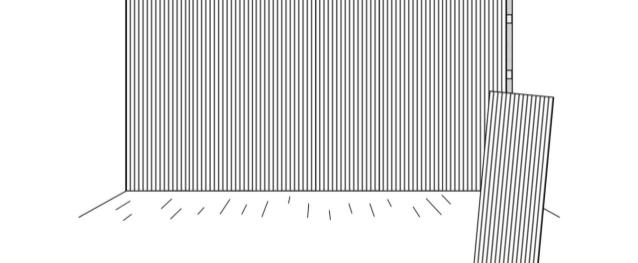
•Cutting the acupanel by cutting the felt with a sharp knife (e.g. cutter knife)
•Fix the last acoustic panel to the wall with black screws through the fel
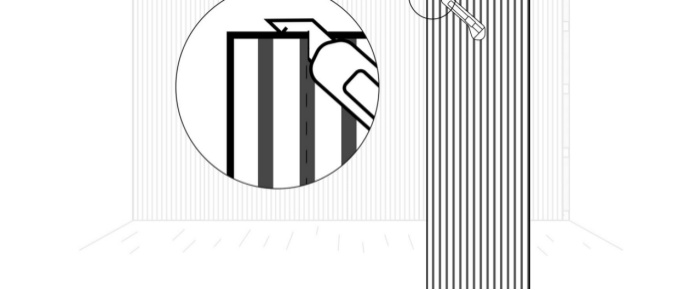
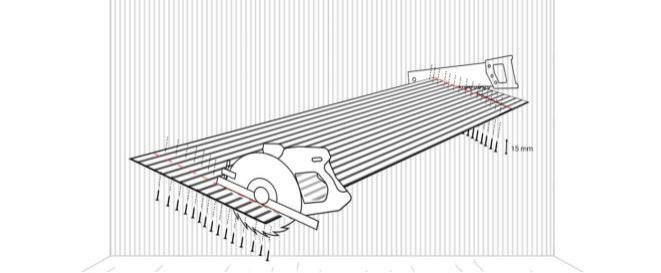
Step 6: Length Cutting
•Cut the length of the acupanel with a saw
•Mark the cutting line on the board with a pencil
•After cutting, werecommend to fix the slats back on the felt
•A screw (approx. 15 mm) is screwed through the felt on the back of the panel into the slat
•Then repeat for each slat
Congratulations!
Your wall is now fully installed.
The acoustics of the room are now much better and the reverberation is removed, so you can relax and listen to the words of your guests more easily.
If you need help with the installation, please do not hesitate to contact us.
We would be very happy if you send us pictures of your unset project or markus in the social media.
Have fun with your project!
Post time: Apr-12-2025